

3D printer performance is highly dependent on the adequate functioning of all its components, one of the most important of which is the belt. In this part of our series on 3D printer care, we will focus on how to properly maintain and adjust belt tension to ensure your printer performs at its best.
The Importance of Belt Tension
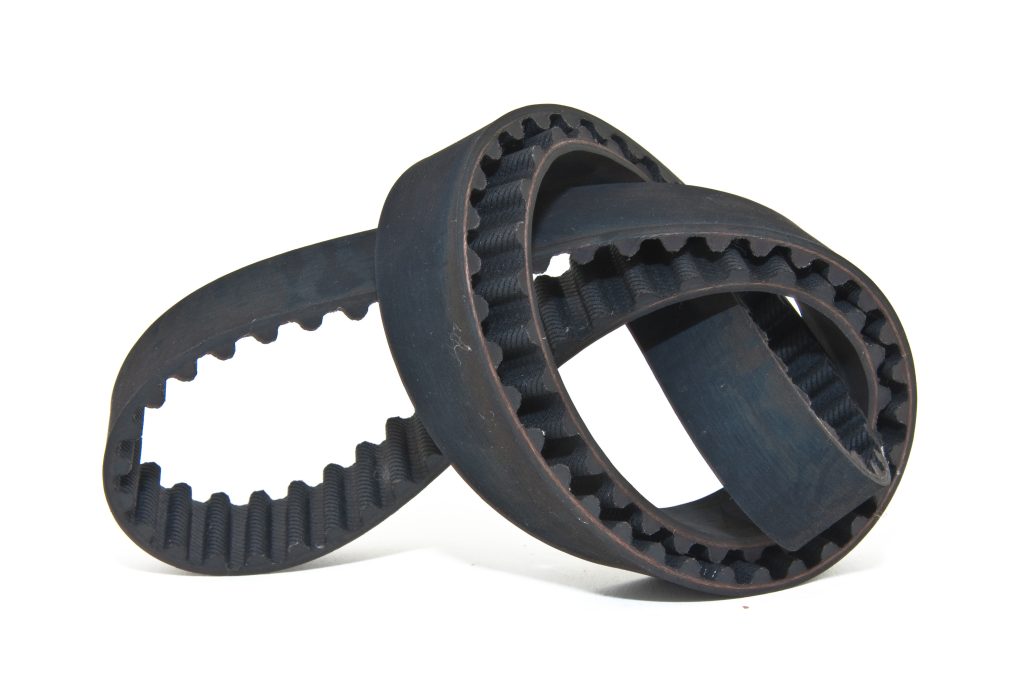
Belts play a crucial role in the operation of your 3D printer by driving the movement of the print head along the X and Y axes. Properly tensioned belts are necessary to ensure smooth and consistent motion, which is crucial for the accuracy and precision of your 3D prints.
When belt tension is suboptimal, either it’s too loose or too tight, print defects and failed prints can be produced. Therefore, understanding the right tension and knowing how to adjust it is key to preventing these issues.
Recognizing the Right 3D Printer Belt Tension
So, how do you know if your belt tension is correct? A properly tensioned belt will not have any slack and will offer some resistance when pressed down. However, it shouldn’t be so tight that it’s completely rigid, as this can lead to accelerated wear and tear.
In essence, your 3D printer’s belt should be as tense as a stretched-out rubber band that allows some flexibility but snaps back into place without slack.
Adjusting Belt Tension on Your 3D Printer
Adjusting belt tension varies depending on the type of 3D printer you have. Here are general steps you can follow:
- Identify the belt tensioner for the axis you want to adjust. Typically, it’s positioned opposite the stepper motor.
- Use an Allen key, screwdriver, or the provided knob to adjust the tension.
- Carefully loosen the belt tensioner enough to adjust the belt’s tightness.
- While holding the frame, pull on the belt tensioner to achieve the desired tension.
- Once this is done, re-tighten the screws, ensuring that the belt is level with the frame to prevent excessive wear.
Many modern 3D printers come with built-in belt tensioners for easy adjustment. But if your 3D printer doesn’t have this feature, you can often print your own tensioner and add it to the frame.
Recognizing Issues with Belt Tension
Improper belt tension can lead to various issues. Too loose, and you might experience layer shifting due to the belt slipping on the pulley cog. This slipping can cause poor geometric accuracy and reduce the quality of your prints. On the other hand, a belt that’s too tight can wear down quickly and may eventually snap, potentially damaging the printer or even causing injury.
Belt Maintenance Tips
Even though the belts don’t require intensive maintenance, neglecting them isn’t an option. Regular inspections are essential to ensure they’re working correctly, properly tensioned, and free from damage.
Here’s what you should do when inspecting your belts:
- Periodically check the belt tension, especially before a long print.
- Clean the belts and aluminium extrusions to remove any dust or contaminants.
- Inspect the teeth and underside of the belts for signs of wear or damage. If you notice any, then replace the belts immediately.
Contrary to some opinions , applying lubricant or conditioner to your belts isn’t usually necessary – this can even negatively impact your prints. Since 3D printer belts have teeth for gripping the cogs, lubricants can make them slippery and cause layer shifts. Moreover, incompatible lubricants may degrade the belt material, leading to premature failure.
In conclusion, proper belt tension and maintenance are essential for the smooth operation of your 3D printer. By following the tips outlined in this article, you can ensure your printer performs optimally and your prints turn out as desired. Stay tuned for the next part of our series on caring for your 3D printer, where we will delve into another crucial aspect of 3D printer maintenance.