




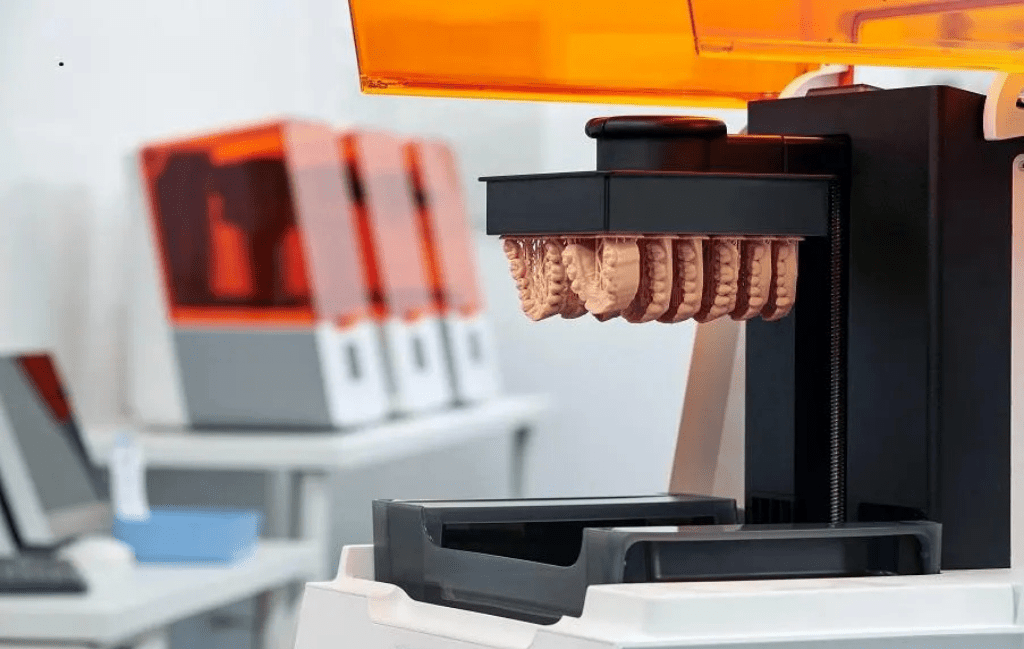
3D printing in dentistry has moved from a niche lab process to something many UK practices now run on-site. Practices that once sent every model and guide out to an external lab are bringing that work in-house, cutting turnaround from weeks to hours.
This matters because dental work runs on precision and timing. A patient waiting for a crown, an aligner fitting, or a surgical guide doesn’t want to wait a fortnight for a lab to post something back. If you run a practice and you’re weighing up whether 3D printing in dentistry is worth the investment, this article covers what the technology actually does, where it fits in a typical workflow, and what to consider before buying equipment.
What Dental 3D Printing Actually Replaces
Traditional dental labs work from physical impressions, cast models in stone, then hand-finish appliances. It’s slow and it adds a layer of communication between the dentist and the final product. Errors creep in at each handoff, and every revision means another round trip in the post.
With an intraoral scanner feeding digital files straight to a desktop SLA (Stereolithography) printer, that chain shortens considerably. SLA uses a laser to cure liquid resin layer by layer, producing the smooth, fine-detail surfaces that dental models and appliances need. It’s the dominant process behind the recent growth of 3D printing in dentistry, because resin printing handles the fine geometry of teeth and gum lines far better than the older filament-based processes.
Common applications include:
- Study models and diagnostic casts
- Clear aligners and retainers
- Surgical guides for implant placement
- Temporary crowns and bridges
- Night guards and splints
- Denture bases and try-ins
- Orthodontic models for treatment planning
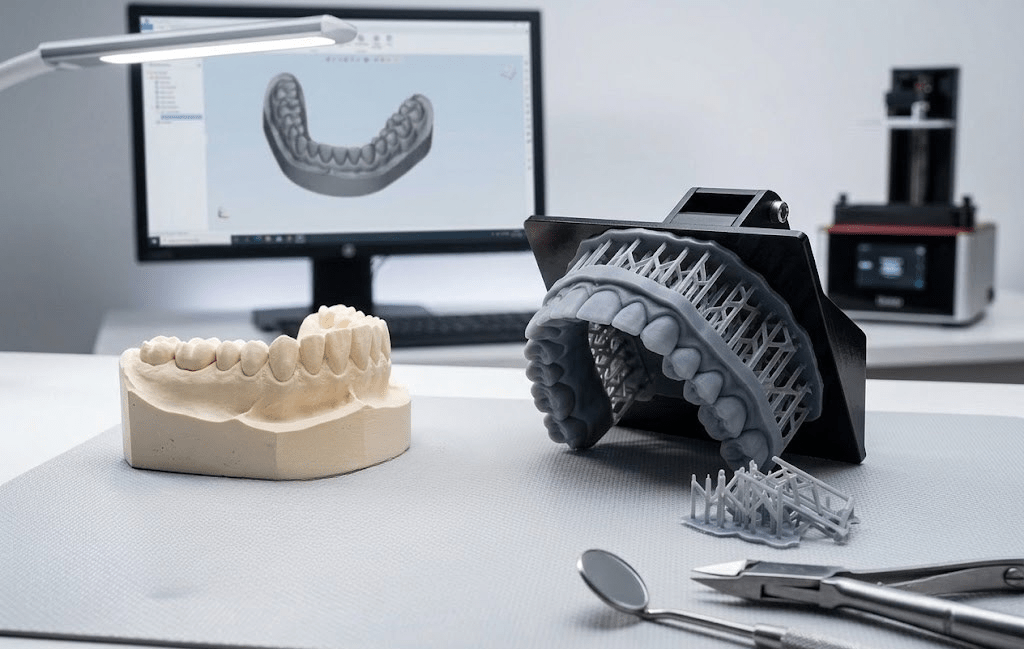
Why Practices Are Bringing This In-House
Faster turnaround for patients
A guide or model that used to take a week or two from an external lab can now be ready the same day, sometimes within a few hours. For implant cases, that means treatment planning and surgery can happen closer together, which patients appreciate. This single change, faster turnaround, is usually the reason practices first start looking into 3D printing in dentistry rather than a wider strategic decision.
Cost control over time
The upfront cost of a printer, curing unit and washing station is real, but the per-unit cost of producing models and appliances drops once you’re not paying lab fees in every case. For a busy practice, the equipment can pay for itself within a year or two depending on case volume. Run the numbers on your current lab spend before assuming the saving is automatic. A practice sending out 10 to 15 cases a month will see a very different return to one sending out two or three.
More control over quality
When the dentist or technician runs the print themselves, there’s less back-and-forth over small adjustments. If a model needs tweaking, it gets reprinted that afternoon rather than sent back and forth in the post. You also get to see exactly how each piece was made, rather than trusting that a third-party lab followed your specification precisely.
Is It Right for Every Practice?
Not automatically. It depends on case volume and the type of work you do most. A practice doing the occasional aligner case might still find external labs more cost-effective. A practice doing implant work, orthodontics or high case volumes generally sees a clearer return from bringing the process in-house.
There’s also a learning curve. Running an SLA printer well means understanding resin types, exposure settings and post-processing. It’s not difficult, but it does need someone on the team willing to learn the workflow properly and own it day to day. Practices that treat the printer as a side project, with no clear owner, tend to get inconsistent results.
Choosing the Right Equipment for Dental Work
Printer considerations
Look for a printer validated for dental resins specifically, with a build volume that suits the size of your typical case batch. Accuracy matters more than speed here. Most dental SLA printers offer tolerances in the region of +/-0.05mm to +/-0.1mm, which is what you need for a guide or aligner to fit correctly. A printer built for general prototyping work won’t necessarily hold that level of accuracy on small, fiddly geometry.
Post-processing equipment
A wash station and a curing unit aren’t optional extras. Resin prints need isopropyl alcohol washing to remove uncured resin, then UV curing to reach full material strength. Skipping or rushing this step compromises both accuracy and biocompatibility, and biocompatibility is non-negotiable for anything that goes in a patient’s mouth.
Resin selection
Dental resins are formulated and certified for specific clinical uses, such as surgical guides, biocompatible appliances or diagnostic models. Using a general-purpose resin for a clinical application isn’t acceptable. Always check the resin’s certification matches the intended use before printing, and keep records of which resin batch was used for which case.
What Does the Workflow Look Like Day to Day?
- Scan the patient with an intraoral scanner, producing a digital impression.
- Design the appliance or model in CAD (Computer-Aided Design) software, or send the scan to a design service.
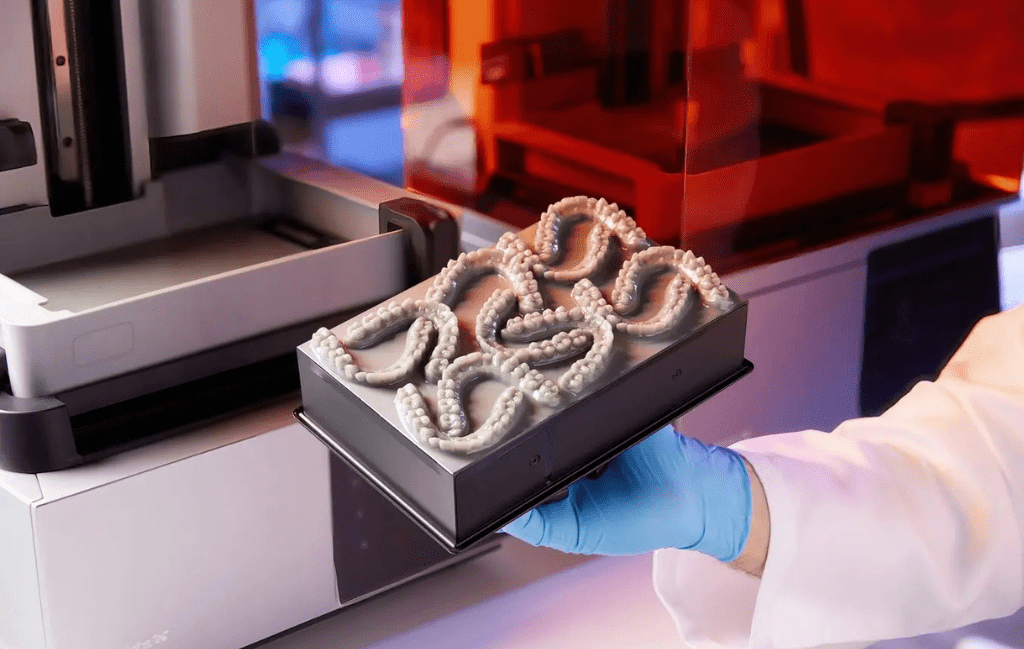
- Send the file to the printer and run the print, typically taking 30 minutes to 2 hours depending on the case and batch size.
- Wash the print in isopropyl alcohol to remove residual resin.
- Cure the print under UV light for the manufacturer’s specified time.
- Finish, trim and polish as required before fitting.
Most practices that adopt 3D printing in dentistry find the workflow becomes routine within a few weeks, once the team has run enough cases to settle on standard settings for their most common appliance types.
The Patient Experience Side of Things
It’s easy to focus entirely on workflow and cost when discussing 3D printing in dentistry, but the patient experience improves too. Traditional impressions, the tray of putty held in the mouth for a minute or two, are unpleasant for most patients and genuinely difficult for anyone with a strong gag reflex. An intraoral scan replaces that step entirely.
Patients also notice the speed. Being told a surgical guide or a retainer will be ready the same day, rather than in two weeks, changes how they feel about the whole process. For practices that compete on patient experience as much as clinical outcome, that’s a meaningful point of difference worth mentioning at the consultation stage.
Where This Fits Into Dental Education and Training
Dental schools and training providers have also picked up on 3D printing in dentistry as a teaching tool. Printed models let students practise procedures on accurate replicas of real cases without needing a live patient or an expensive set of manufactured training models. A scan from an actual case, anonymised, can be printed repeatedly for repeated practice runs.
This extends to continuing professional development too. Practices running internal training sessions on new techniques can print practice models from typical case geometries, which is far cheaper than ordering bespoke training models from a supplier each time.
Common Questions From Practices Considering This Move
How accurate are 3D printed dental appliances?
Modern dental SLA printers achieve tolerances tight enough for clinical use, generally within +/-0.1mm or better. That’s accurate enough for crowns, guides and aligners to fit as designed, provided the scan and design stages are also accurate. Accuracy is only as good as the weakest link in the chain, so a poor scan will still produce a poor result no matter how good the printer is.
Do staff need special training?
Some, yes. Most suppliers offer training as part of the purchase, and the day-to-day printing process becomes routine within a few weeks. The CAD design stage has the steepest learning curve, though many practices outsource design while keeping printing in-house, which is a sensible middle ground for smaller teams.
What’s the typical cost to get started?
Entry-level dental SLA setups, including printer, wash station and curing unit, start in the low thousands of pounds. Higher-throughput systems for busy practices cost more but reduce the per-case time and labour involved. Factor in resin costs too, which vary depending on the certified use of each material.
Will this replace my dental lab entirely?
Not necessarily, and for most practices that’s not the goal. Many keep an external lab relationship for complex restorative work while handling models, guides and aligners in-house. The two approaches work well together rather than being an all-or-nothing choice.
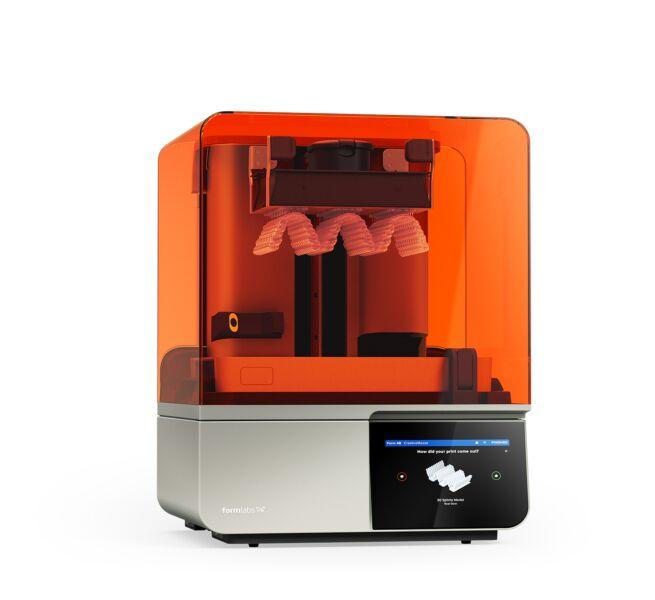
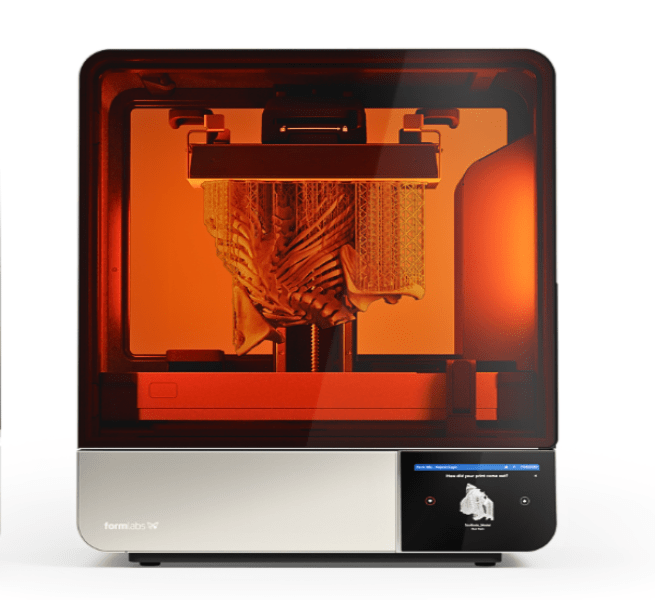
Printers Ideal For Dentistry
Final Thoughts
3D printing in dentistry isn’t a gimmick. It’s a practical shift in how models, guides and appliances get made, and for practices with steady case volume, it genuinely changes turnaround times and cost structures. The technology has matured to the point where accuracy isn’t the limiting factor anymore. The decision comes down to your case volume, your appetite for managing an in-house workflow, and whether faster patient turnaround is worth the upfront investment.
If you’re weighing this up, the best next step is to talk through your typical case mix with a supplier who understands dental workflows specifically, rather than buying equipment built for general prototyping. Book a demo and see the process running on real cases before you commit.