




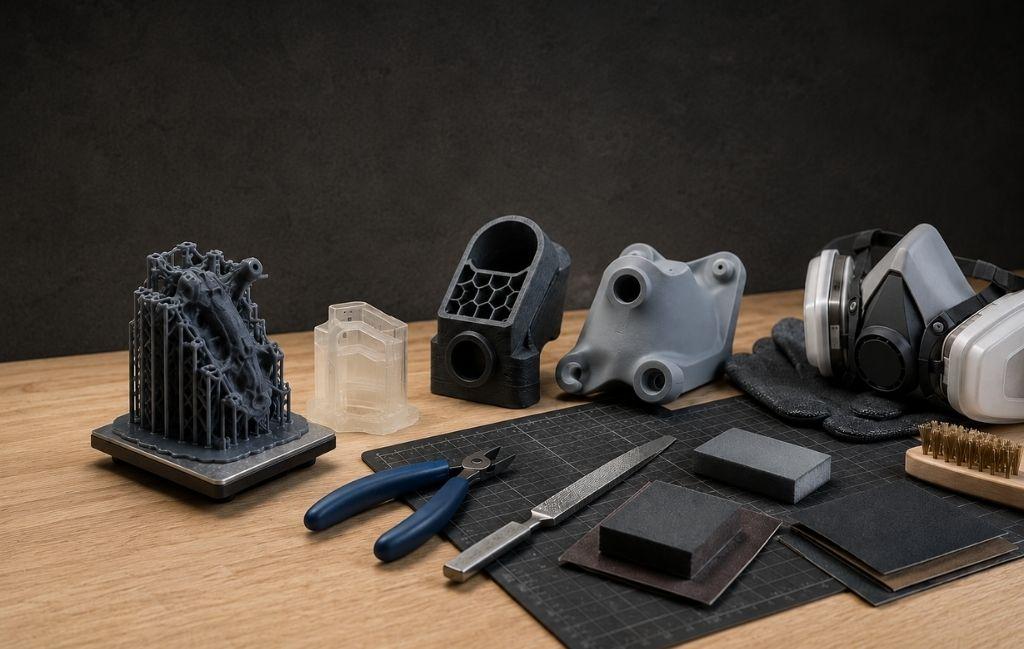
3D printing post processing gets far less attention than the printer itself, yet it’s often the difference between a part that looks and performs the way it should, and one that doesn’t. Plenty of people invest in a capable printer, dial in their settings, and still end up disappointed with the final result because the steps after the print finishes were treated as an afterthought.
This matters because a printed part straight off the build plate is rarely the finished article. Support material needs removing, surfaces often need smoothing, and depending on the material, further curing or treatment might be required before the part is genuinely ready to use. This article covers what 3D printing post processing actually involves across the main printing technologies, and why skipping or rushing it causes more problems than it solves.
What Counts as Post-Processing
Post-processing covers everything that happens to a part after the printer stops, before it’s ready for use. Depending on the process and material, that can include:
- Support removal
- Washing (for resin prints)
- UV curing (for resin prints)
- Sanding and surface finishing
- Vapour smoothing
- Heat treatment or annealing
- Painting or coating
- Assembly of multi-part prints
Not every part needs every step. A quick prototype for a fit check might need nothing more than support removal. A consumer-facing product or a clinical dental appliance needs considerably more attention, and getting 3D printing post processing wrong at this stage is where most quality problems start.
Why Skipping It Causes Problems Text Here
Mechanical performance suffers
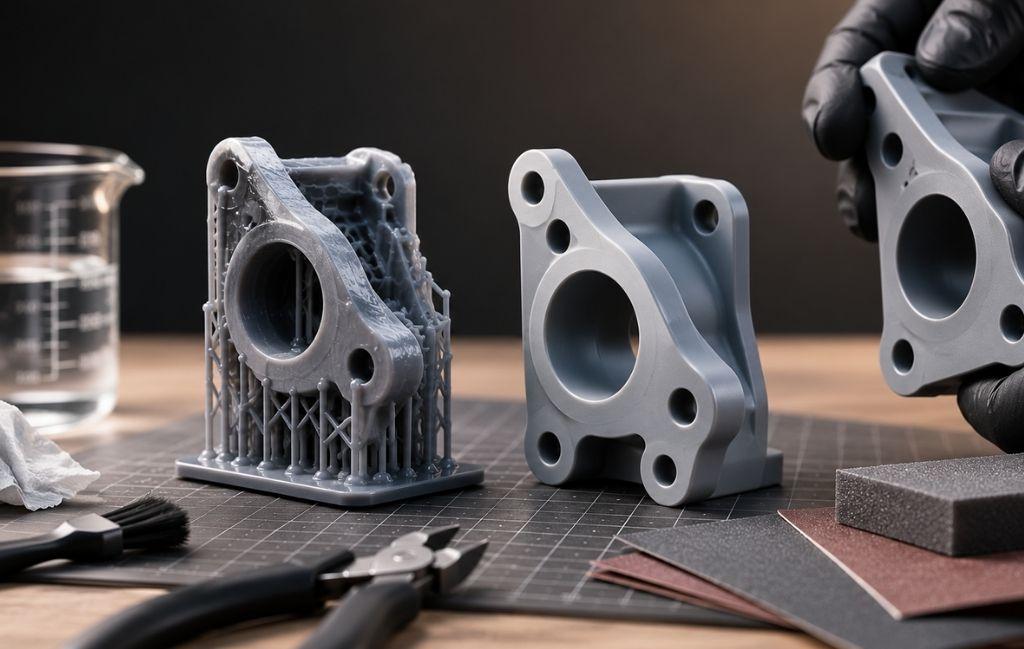
For resin prints, skipping the curing stage leaves the part under-strength. Uncured resin doesn’t reach its full mechanical properties, so a part that looks finished can fail well below the strength you’d expect from the material’s published specifications. This is one of the most common causes of unexpected part failure reported by people new to resin printing.
Surface finish affects function, not just looks
A rough surface isn’t always just a cosmetic issue. On parts that need to seal against another component, slide against a mating surface, or be handled repeatedly by users, surface finish has a direct functional impact. Layer lines left untreated can also act as stress concentrators, slightly weakening a part under repeated load.
Dimensional accuracy can shift
Some post-processing steps, particularly heat treatment, can subtly change part dimensions if not done correctly. Understanding what a given process does to a part’s final size matters for anything with tight tolerances, such as a bracket that needs to mate precisely with another component.
3D Printing Post Processing by Technology
FFF (Fused Filament Fabrication) parts
FFF prints typically need support removal first, which can be done by hand for soluble or breakaway supports, or in a wash for water-soluble support materials. From there, sanding addresses visible layer lines, and vapour smoothing (commonly used with ABS) can produce a glossy, layer-free finish for parts where appearance matters.
SLA (Stereolithography) resin parts
Resin prints require washing in isopropyl alcohol to remove uncured resin from the surface, followed by UV curing to bring the part to its full mechanical strength. Skipping either step is one of the most common reasons people report weak or tacky resin parts. Support removal happens either before or after curing depending on the resin and part geometry.
SLS (Selective Laser Sintering) parts
SLS parts come out of the printer embedded in unsintered powder, which needs careful removal, often with compressed air or a dedicated depowdering station. Unlike FFF and SLA, SLS doesn’t need support structures since the surrounding powder bed supports the part during printing, but excess powder removal from internal channels and cavities takes real care.
Metal AM parts
Metal printed parts almost always need heat treatment to relieve internal stress built up during printing, and support structures (which are typically solid metal in this process) need to be removed, often by machining. Surface finishing for metal parts can range from simple bead blasting through to full CNC machining of critical surfaces.
Building Post-Processing Into Your Workflow
Budget time for it properly
A common mistake is treating post-processing as a quick afterthought rather than a planned part of the production timeline. For resin parts especially, washing and curing can take 30 minutes to an hour depending on part size and the equipment used. Building that time into project planning avoids rushed jobs and inconsistent results.
Invest in the right equipment
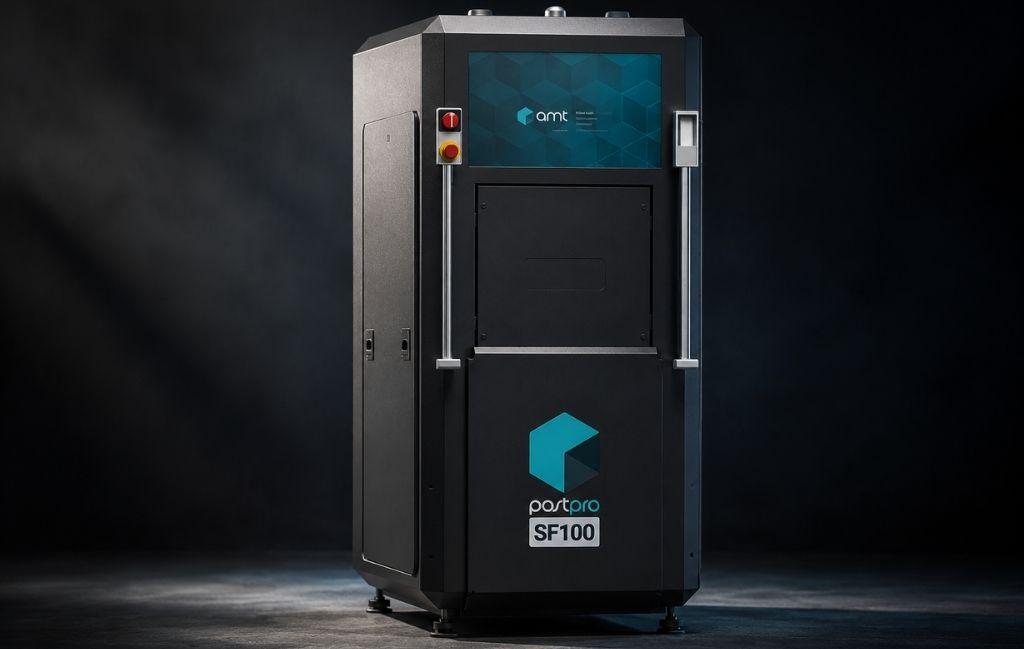
A wash station and curing unit for resin printing, or a proper depowdering setup for SLS, isn’t an optional extra if you’re printing regularly. Getting 3D printing post processing equipment right from the start saves a lot of inconsistent results down the line. Doing these steps by hand with basic tools works occasionally but produces inconsistent results over time and takes considerably longer.
Match the finish to the application
Not every part needs a glossy, fully finished surface. A jig that lives inside a machine doesn’t need vapour smoothing. A customer-facing product probably does. Matching the level of post-processing effort to what the part actually needs keeps the workflow efficient rather than over-engineering every print.
Document your process
For applications where consistency matters, such as dental appliances or engineering parts with defined tolerances, write down the exact post-processing steps and timings you use. This makes results repeatable across different operators and reduces the chance of a rushed or skipped step.
dolor sit amet, consectetur adipiscing elit. Ut elit tellus, luctus nec ullamcorper mattis, pulvinar dapibus leo.
Common Mistakes Worth Avoiding
Most 3D printing post processing failures trace back to one of a handful of recurring mistakes.
- Under-curing resin parts to save time, leaving them under-strength.
- Sanding before fully curing a resin part, which can clog abrasives and produce a poor finish.
- Removing supports too aggressively, damaging fine detail on the part surface.
- Skipping stress relief on metal parts, leading to warping or cracking later.
- Ignoring internal cavities on SLS parts, leaving trapped powder that affects weight and function.
Frequently Asked Questions
How long does post-processing typically add to a project?
It varies considerably by process and part complexity. A simple FFF print might need only a few minutes of support removal. A resin part needing washing and curing could add 30 minutes to an hour. Metal parts requiring heat treatment can add several hours, though much of that is unattended machine time rather than active labour.
Can post-processing fix a poorly printed part?
To a degree, but it has limits. Sanding can smooth a rough surface, and curing can bring a resin part up to strength, but post-processing can’t correct a part that was printed with the wrong settings or designed without proper support. Getting the print right in the first place still matters most.
Is post-processing equipment expensive?
Entry-level wash and cure stations for resin printing are relatively affordable and pay for themselves quickly in time saved and consistency gained. Equipment for metal AM post-processing, such as stress-relief ovens, represents a bigger investment but is generally already factored into the cost of a metal printing setup.
Final Thoughts
3D printing post processing isn’t an optional finishing touch, it’s part of the manufacturing process itself, and treating it as such changes the quality and reliability of everything you produce. The steps after the print finishes determine whether a part reaches its full mechanical strength, the finish it needs, and the dimensional accuracy required for its application.
If post-processing has been an afterthought in your workflow so far, the most useful next step is to look honestly at where parts have underperformed or looked rougher than expected, and trace that back to which post-processing step was rushed or skipped. Talk to our team about the right post-processing setup for your specific materials and part requirements.