




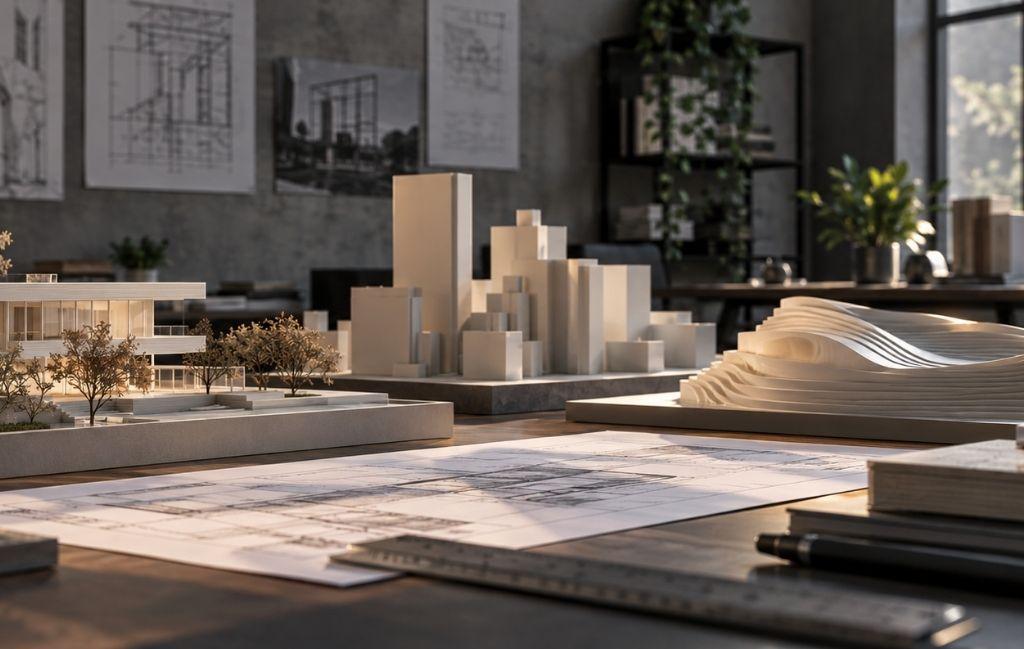
Architects reach for 3D printing to do two very different jobs. One is making scale models that communicate a design. The other is producing full-size components that end up in or on a finished building. Both sit under the same heading of 3D printing in architecture, but they use different machines, materials, budgets, and skills. Knowing which of the two you are actually trying to do saves money and avoids disappointment.
This article covers both sides. It looks at how practices use desktop and benchtop printers for models, how larger or specialist systems handle full-size parts, and where the sensible line sits between what you print in-house and what you send to a service. Specs, materials, and honest limitations are included as we go, so you can judge what fits your own projects.
Where does 3D printing in architecture actually help?
Two use cases dominate. Model-making is the mature one, used across nearly every stage of design, from early massing studies to polished presentation pieces for planning and client meetings. Component production is younger and more specialist. It covers bespoke facade parts, moulds for casting, functional fixings, and the occasional one-off structural element.
The reason 3D printing in architecture has spread so quickly on the model side is simple. It removes hours of hand-cutting and lets you produce a design variant overnight. On the component side, the appeal is different. It makes complex, one-off geometry affordable when traditional tooling would cost far more, and it turns awkward custom parts into something you can order rather than fabricate from scratch.
Scale models: faster iteration and finer detail
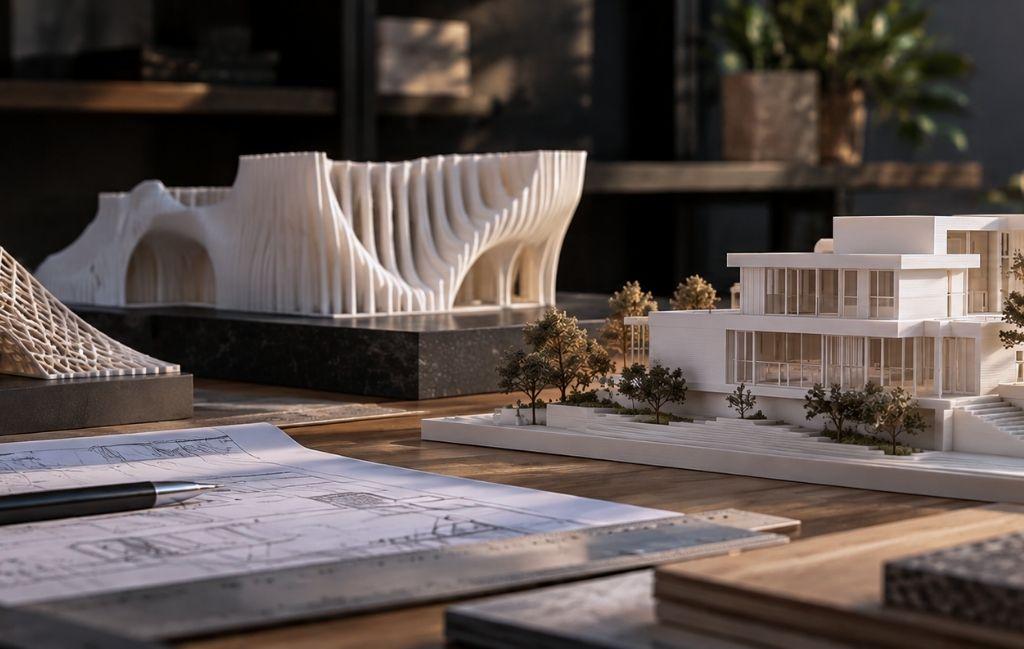
Model-making is where 3D printing in architecture began, and it is still where most studios spend their time. A screen render shows intent, but a model you can pick up and turn over reads differently in a planning meeting or a client review. Printing shortens the path from a CAD (Computer-Aided Design) file to a physical object, and it copes with geometry that would test even a skilled model-maker by hand.
Which technology suits which model?
Three processes cover most architectural model work:
- FFF (Fused Filament Fabrication) melts and deposits plastic filament layer by layer. It is the cheapest route and works well for massing models, site context, and larger blocks where fine surface detail matters less. Printers from Bambu Lab are a common sight in studios for this reason.
- SLA (Stereolithography) cures liquid resin with light and produces much finer detail. It suits facades with slender mullions, tracery, louvres, and anything where crisp edges carry the design. Formlabs machines are a frequent choice here.
- SLS (Selective Laser Sintering) fuses nylon powder and needs no support structures, so it handles delicate, interlocking, or free-standing elements that would be awkward to print any other way.
Most practices settle on a pairing. An FFF printer covers the bulk of study and context work, and a resin machine sits alongside it for the detailed pieces that go in front of a client or a committee.
Scale, build volume, and splitting large models
Architectural models are usually built to standard scales such as 1:50, 1:100, 1:200, or 1:500. The scale you choose decides how much detail survives the print and how large the model becomes.
Build volume then sets the practical limit. A Bambu Lab X1 or P1 series printer gives you around 256 x 256 x 256mm to work with. A Formlabs Form 4 offers roughly 200 x 200 x 210mm, while the larger Form 4L extends that to around 353 x 196 x 350mm, which suits long facades and tall towers, though its depth is tighter than an FFF bed. A large site model will exceed all of these bounds, so you split it into tiles, print them in batches, and register the pieces on a common base. The trick is to place the split lines along natural breaks, such as roads or plot boundaries, so the joins hide themselves rather than cutting across a facade.
Layer height controls the trade-off between detail and time. On FFF, 0.2mm is a sensible default for massing, dropping to 0.1mm or 0.08mm when the detail counts. On SLA, layers of 25 to 100 microns (0.025 to 0.1mm) give the fine finish resin is known for, on the Form 4 and Form 4L alike. Finer layers look better and take longer, so match the setting to the model’s job rather than always reaching for the highest quality.
Materials and finishing
Material choice follows the purpose of the model:
- PLA is cheap and easy to print, which makes it the workhorse for massing and study models.
- Standard resin gives smooth, detailed surfaces for presentation models.
- Clear resin stands in for glazing where you want light to read through the model.
- Nylon from an SLS machine survives handling, so it suits models that get passed around a meeting table.
Most models still want some finishing. Light sanding knocks back FFF layer lines, and wet sanding from around 220 grit upward gives a cleaner surface before primer. A coat of grey primer then unifies the look and shows form far better than bare plastic. Keep the effort honest to the model’s role. A quick study model does not need the same care as a piece heading to a planning committee. If filament and resin stocking is the bottleneck, a steady supply of resin keeps the studio moving between deadlines.
Scale models vs full-size components: which makes sense for your practice?
For most architects, the honest answer is to start with models and treat full-size components as a specialist commission. The two jobs differ in almost every respect:
- Purpose: models communicate and test a design, while components form part of the built work.
- Cost: a capable FFF printer for models can cost under £1,000, while full-size and structural work runs far higher and often sits with a bureau.
- Skills: model-making drops into a studio’s existing CAD workflow, while full-size parts bring in materials knowledge and compliance.
- Risk: a failed model wastes an afternoon, while a failed structural part is a safety matter.
A practical split is to bring model-making in-house, where the sheer volume of iteration justifies owning a machine, and to send full-size or load-bearing components to a service that can prove the part performs. That keeps the fast, everyday work under your own roof while the high-stakes parts go to people set up to certify them. If you need occasional full-size or one-off parts without buying industrial kit, a print service covers that gap.
Getting started with 3D printing in architecture
If you are adding 3D printing in architecture to your studio, model-making is the natural first step. A single benchtop FFF printer covers most study and massing work, and a resin machine alongside it handles the detailed presentation pieces. Filament and resin are cheap enough that the real barrier is time and setup, not running cost.
A sensible starter setup for a practice looks like this:
- One FFF printer for massing, context, and larger models
- One SLA resin printer for detailed facades and presentation models
- A stock of PLA for study models and a couple of resins for finished pieces.
- A small finishing area with sanding kit, primer, and paint.
When a project calls for full-size components or a one-off structural part, that is the moment to bring in a printing service rather than buying industrial kit for a single job. It keeps your spend matched to how often you actually need the capability.
Final thoughts
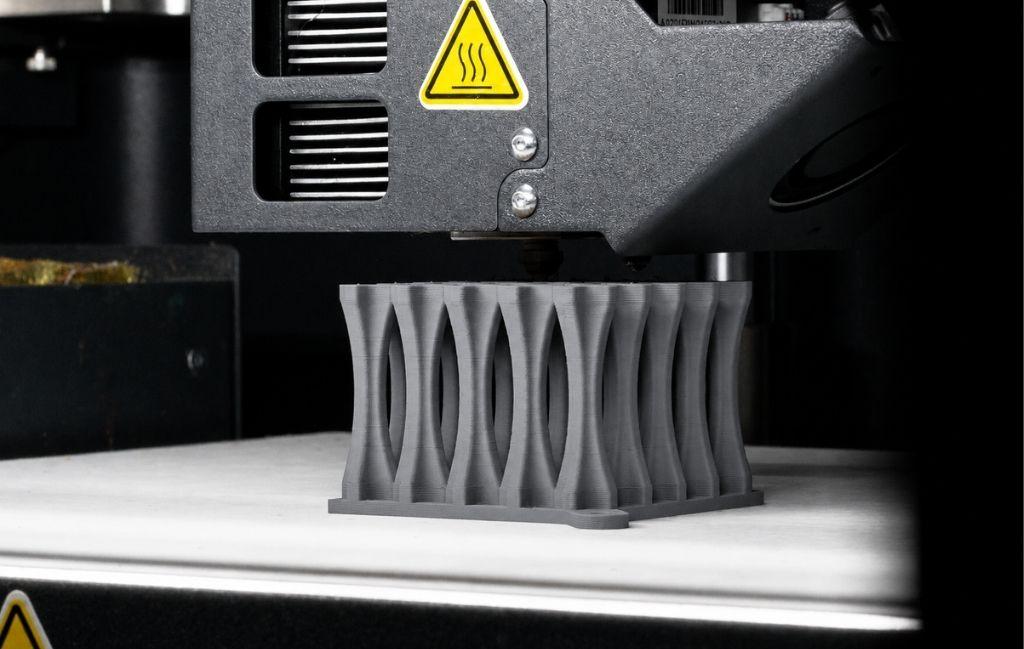
The split between scale models and full-size components is the useful way to think about 3D printing in architecture. Model-making is mature, affordable, and a strong fit for in-house work, where it pays back quickly in faster iteration and better design conversations. Full-size components sit at the specialist end, where materials, weather, and certification decide everything, and where a service provider usually makes more sense than owning the machine yourself.
If you are starting out, the rule of thumb is straightforward. Buy for the models and partner for the parts. A benchtop FFF printer and a resin machine will cover the day-to-day, and a trusted service can take on the occasional full-size or structural job when it arrives.
Not sure which machines fit the way your studio works? Our team in Ripon runs demonstrations and can talk through model-making kit or a one-off component print with you. Give us a call, and we will help you work out what actually suits your projects.