




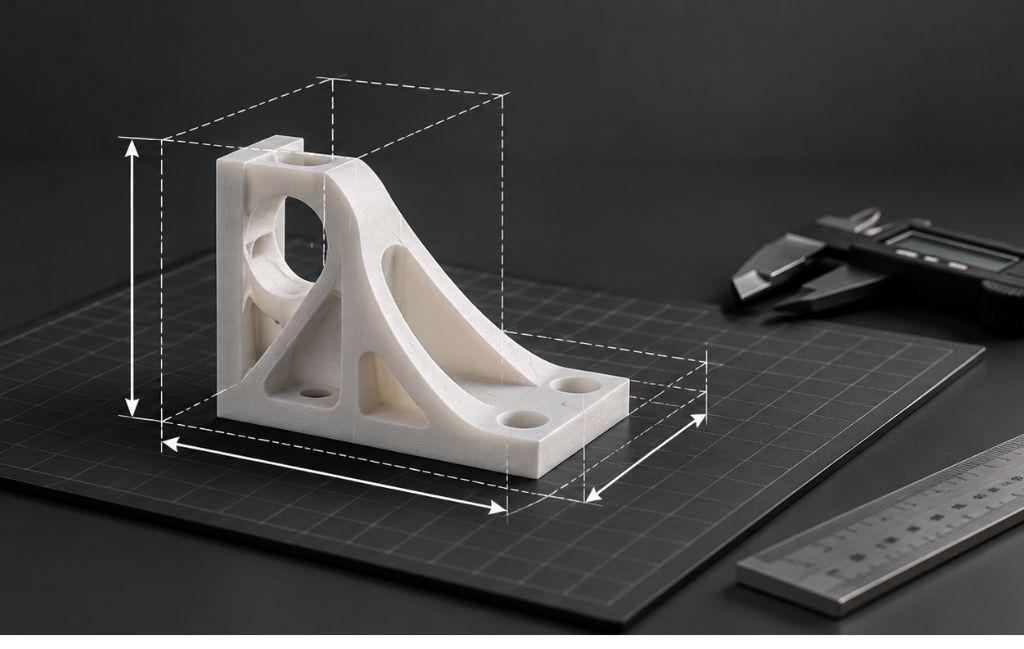
Build volume is one of the first numbers people check when buying a printer, and one of the easiest to get wrong. Buy too small and you are splitting parts you hoped to print whole. Buy too big and you have paid for print time, power, and desk room you rarely use. Working out the right 3D printer build volume before you buy comes down to measuring the parts you actually make, not the largest thing you can imagine printing one day.
This guide explains what build volume really means, why bigger is not automatically better, and how to size a machine around your own work. It covers the differences between FFF, SLA, and SLS, the gap between quoted and usable volume, and when splitting a part beats buying a larger printer.
What is the 3D printer build volume?
The 3D printer build volume is the maximum space a machine can print within, measured across three axes and quoted in millimetres. A figure such as 256 x 256 x 256mm tells you the width, depth, and height of the largest single object the printer can produce. It describes the printable envelope, not the size of the machine on your bench, which is always larger. A printer with a 256mm bed might take up 400mm or more of bench depth once you add the frame, spool holder, and cable runs.
Build volume shape depends on the printer type. Most desktop machines are cartesian, giving a rectangular box. Delta printers use a circular bed, so their volume is quoted as a diameter and a height, such as 200mm diameter by 300mm tall. Resin printers give a rectangular volume too, though usually a smaller one. Knowing the shape matters, because a round bed and a square bed of the same headline size hold very different parts.
Why bigger isn't automatically better
It is tempting to buy the largest 3D printer build volume you can afford and stop worrying about size. In practice, a larger machine brings trade-offs that catch people out.
- Cost rises quickly. Doubling each axis multiplies the printable volume by eight, and the purchase price and running cost climb with it.
- Prints take longer. A bigger bed encourages bigger prints, and a tall part can tie up the machine for a day or more.
- Space and power go up. A large printer needs more bench or floor area, and enclosed heated machines draw more power.
- Reliability can suffer. Heating a large chamber evenly and keeping a big first layer flat is harder than on a compact printer.
None of this means large machines are a poor choice. It means the right size is the one that fits your parts with a sensible margin, not the biggest box on the shelf.
How do you calculate the build volume you need?
Start from the parts you actually print, then work outward. The method is simple and saves a lot of second-guessing.
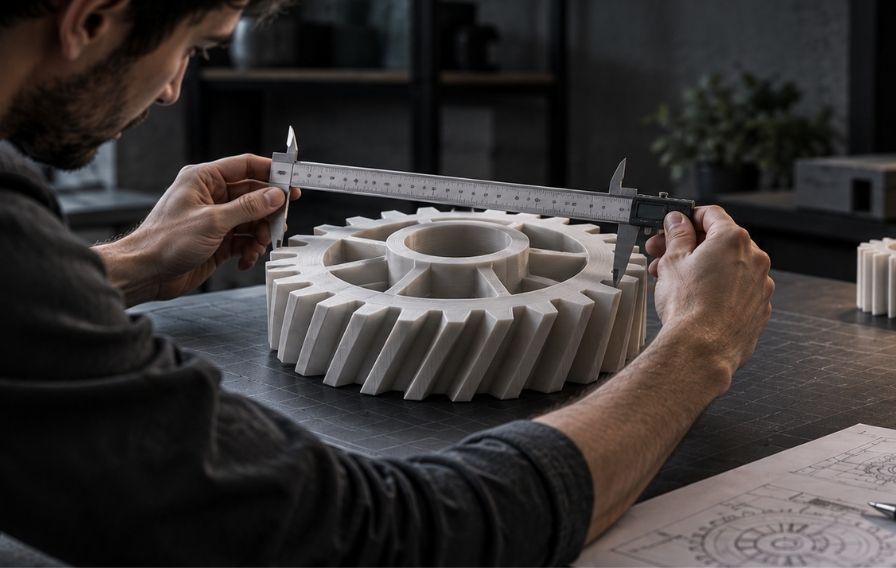
- Measure your real parts. Look at the jobs you run most often and note the largest realistic dimensions in each axis. Ignore the rare one-off giant for now.
- Add a margin. Leave 10 to 20mm of clearance on each axis. Skirts and brims need room, and printing right to the edge of the bed invites first-layer and adhesion problems.
- Use orientation. A part longer than the bed can often fit on the diagonal, since the diagonal of a 256 x 256mm bed is around 362mm. Tall parts can go up the Z axis, which is frequently the most generous dimension.
- Think about batches. If you print many small parts rather than a few large ones, bed area in X and Y matters more than height. A wide bed lets you run more parts per job.
- Keep splitting in mind. A part that will not fit whole can be cut into sections and joined afterward, which lets a smaller printer handle occasional large work.
Here is how that looks in practice. Say your most common parts top out at 180 x 120 x 90mm. Add a 15mm margin on each axis and you need roughly 210 x 150 x 120mm of usable space. A printer offering 220 x 220 x 250mm clears that comfortably and leaves room to batch smaller parts alongside. You do not need a 300mm machine for work like that, and the money saved buys filament, resin, or a second printer.
Watch the Z axis
Height is often the most generous dimension on a printer, but a tall print carries the most risk. A part that fills the Z axis can run for many hours, and a failure near the top wastes all of it. For tall work, a well-tuned machine and reliable bed adhesion matter more than raw size. Where a part is very tall and thin, splitting it into shorter sections and joining them is often faster and safer than committing to one long print.
Usable volume vs quoted volume
The number on the spec sheet is the theoretical maximum. The volume you can rely on day to day is usually a little smaller. Auto-levelling probes, bed clips, and purge or wipe zones can all eat into the corners, and some slicers reserve space for a prime line. On many machines you lose a few millimetres near the edges to keep the first layer clean.
Enclosed printers can also lose a small amount of height to the top gantry or the filament path. None of this is a fault, but it is worth knowing when a part sits right on the limit. If a job needs the full stated size, test with a quick draft print before committing to a long run. A part that clips an exclusion zone at hour 12 of a 15-hour print is an expensive lesson. This gap between the quoted and the usable 3D printer build volume is one of the most common surprises for first-time buyers.
Build volume and batch throughput
For anyone printing in quantity, build volume is not only about the size of one part. It sets how many parts you can print in a single run, and that changes your cost per part. A wider bed lets you lay out more copies at once, so the machine spends more of its time producing and less time heating up, homing, and starting fresh jobs.
The saving is real. If a printer with a 220 x 220mm bed fits six copies of a part per run, and a 256 x 256mm bed fits nine, the larger bed needs far fewer jobs to hit the same total. Over a week of production that adds up in both time and attention, since every job start is a chance to load a plate, clear the last print, and check the first layer.
This is where FFF and SLS pull ahead for volume work. FFF spreads parts across a flat bed, while SLS nests them through the full chamber in three dimensions. If batch output is your goal, weigh bed area and chamber volume as heavily as the single-part limit, because the biggest part you print and the most parts you print are two different questions.
Build volume by technology: FFF, SLA and SLS
Different processes offer build volume in different ways, so the right target depends on how you print.
FFF
FFF (Fused Filament Fabrication) melts and deposits plastic filament layer by layer, and it offers the widest range of build sizes. A typical entry-level FFF printer gives around 220 x 220 x 250mm. Machines from Bambu Lab 3D printers, such as the X1 and P1 series, offer 256 x 256 x 256mm, while large-format FFF printers reach 300 x 300 x 300mm and beyond. If you need a big single-piece plastic part, a large 3D printer build volume in FFF is usually the most affordable way to get it.
SLA
SLA (Stereolithography) cures liquid resin with light and trades size for fine detail. Resin volumes tend to be smaller, because the technology suits precise, detailed parts rather than large ones. A Formlabs Form 4 offers roughly 200 x 200 x 210mm, and the earlier Form 3+ around 145 x 145 x 185mm. For more room, the Form 4L is much bigger at around 353 x 196 x 350mm, enough to print long or tall parts in one piece. For detailed models, dental and jewellery work, and small precise parts, the smaller machines are usually plenty.
SLS
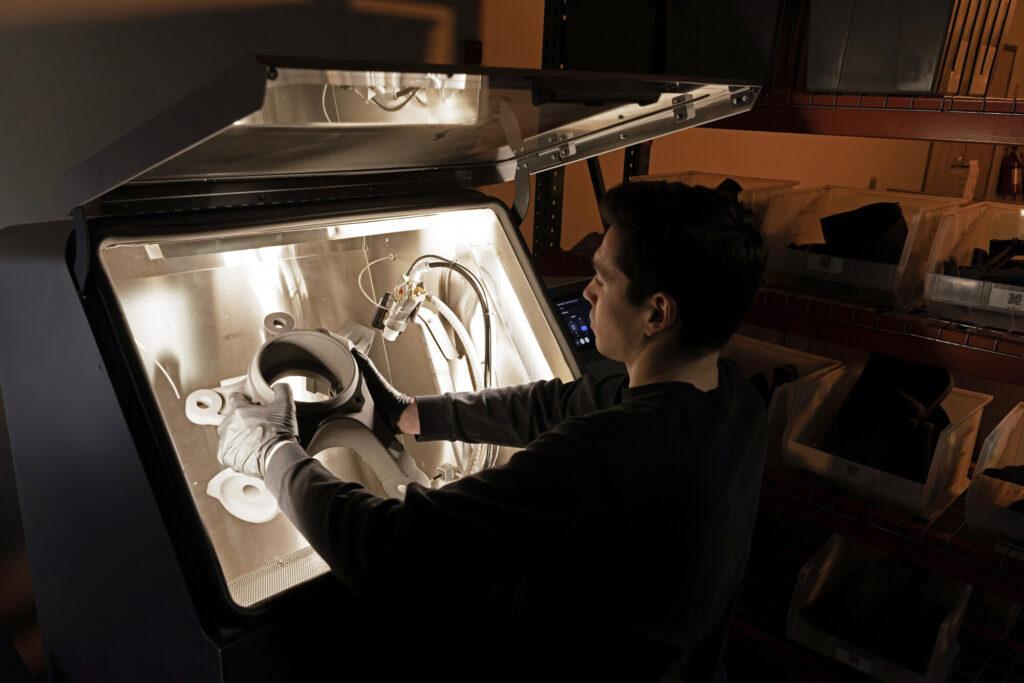
SLS (Selective Laser Sintering) fuses nylon powder and prints without support structures. That changes how you read its build volume, because you can nest parts throughout the whole chamber in three dimensions rather than laying them out on a single bed. A benchtop SLS system such as the Formlabs Fuse 1+ 30W, with a chamber around 165 x 165 x 300mm, can hold a surprising number of parts once you stack and interlock them. For larger work, the Fuse X1 is much bigger, with a 330 x 330 x 565mm chamber, so large parts can be printed without sectioning and production batches run bigger. For batch production of functional parts, effective capacity is often higher than the headline figure suggests.
Material and enclosure: the hidden partner to build volume
Build volume does not sit on its own. The material you print decides whether a large machine will actually deliver large parts. PLA is forgiving and prints well on open-frame machines at almost any size. Engineering materials such as ABS and ASA shrink as they cool, and a big print in those materials will warp and lift without an enclosed, heated chamber to hold a stable temperature.
So a large open printer is fine for big PLA models, but big functional parts in ABS or ASA need both the volume and the enclosure. If your largest jobs are also your most demanding materials, size the machine and the chamber together rather than treating them as separate questions. A generous 3D printer build volume you cannot fill in your chosen material helps nobody. Good 3D printing filament choices and a stable chamber matter as much as the numbers on the box.
Matching a 3D printer build volume to your work
A good rule is to buy for your 90th-percentile part, not your largest ever. Size the machine so it prints the parts you make most weeks with a comfortable margin, and accept that the rare oversized job will need a different answer. That keeps your money matched to your actual output rather than to a hypothetical.
For those occasional outliers, you have two sensible routes:
- Split the part into sections and join them with pins, dovetails, or adhesive. It adds finishing time but keeps a smaller printer viable.
- Send the job to a print service such as the Digital Parts Factory, which can handle large or one-off parts without you buying industrial kit for a single project.
Both options cost far less than jumping up to a large machine you would run at full size only a handful of times a year.
Final thoughts
The right 3D printer build volume is not the biggest one you can afford. It is the one that fits the parts you print most often, with a margin for clearance and a plan for the occasional job that runs over. Measure your real work, add a little headroom, and check the usable area against the quoted figure before you commit.
Get the size right and the machine quietly does its job for years. Get it wrong and you either fight to split parts that should have printed whole or stare at empty bed space you paid a premium for. If you want a second opinion before buying, our team in Ripon can look at the parts you make and point you at a printer that fits them.