

A full hot-end replacement on your Bambu Lab X1 Carbon might be necessary if you’re dealing with stubborn clogs or persistent printing issues.
Over time, the constant flow of abrasive filaments can wear down your nozzle, making a fresh assembly essential for optimal performance.
You might also need to swap out your entire hot-end assembly when you’re ready to tackle specialised projects that require a different nozzle size.
Before we begin, there are two hotend assembly types for the Bambu X1 Carbon:
- Stainless steel (for standard filaments)
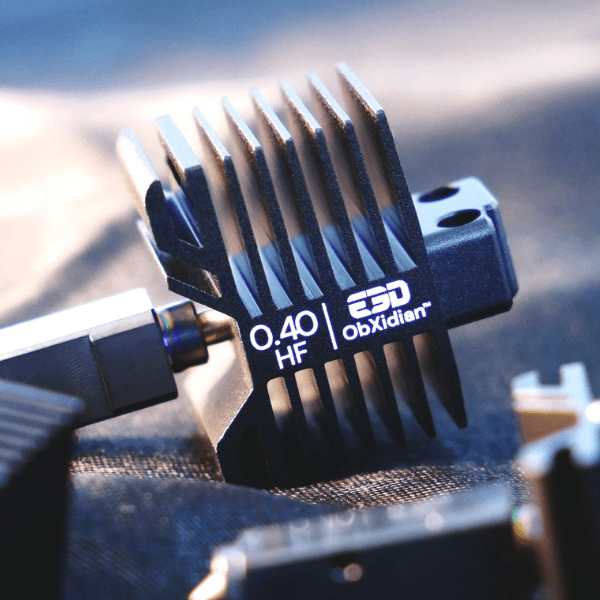
- Hardened steel (for abrasive filaments)
Is replacement easy?
The good news is that replacing the hotend assembly on the Bambu X1 Carbon is easy, and even more so than many other printers because it’s a complete all-in-one unit (heatsink, throat, heater block, and nozzle come pre-assembled).
The X1 Carbon’s hotend is also installable when cold – a unique feature that avoids messy filament oozing issues.
The steps are straightforward – it’s basically unplugging three wires, removing two screws, and then doing those steps in reverse.
Watch this video for an explainer:
First steps – safety
Before working on your X1 Carbon’s hotend, the power must be completely off — not just on standby.
Even if you’re just doing a quick swap, take the extra few seconds to properly shut down and unplug your printer. Ensure your hotend has cooled to at least 30°C or below before starting – you can check this in the Temperature/Axis settings.
Tools needed
You’ll only need two things for this job:
- An H2 Allen key (hex wrench)
- A new Bambu Lab complete hotend assembly compatible with the X1 series
That’s it — no special tools or extra parts are required.
How to remove the hotend
- Check your hotend temperature is 30°C or below in the Temperature/Axis settings
- Power off your printer completely
- Find and remove the magnetic cover on your tool head
- Locate and disconnect three plugs:
- The larger 2-pin ceramic heater plug
- The 4-pin cooling fan connector
- The small 2-pin thermistor plug (note: this has a latch you’ll need to press to release)
- Use your H2 Allen key to remove the two screws at the top of the heatsink
- Carefully free the wires from the plastic wire clip
- Gently remove the entire hotend assembly
How to install new hotend
- Take your new hotend assembly and align it with the mounting bracket
- Position it so the screw holes line up with the bracket holes
- Insert both screws and tighten them evenly – but don’t over-tighten
- Connect all three plugs:
- The larger 2-pin ceramic heater connector
- The 4-pin cooling fan plug
- The small 2-pin thermistor connector (it should click when properly seated)
- Carefully route all wires through the plastic wire clip
- Replace the magnetic cover
- Power up your printer, and you’re ready to go
About the X1C hotend
Your Bambu X1 Carbon hotend is a versatile component capable of handling temperatures up to 300°C, making it perfect for everything from basic PLA to high-performance materials.
You can switch between ultra-fine detail work and rapid printing with an appropriate nozzle size (0.2mm to 0.8mm). The hotend comes ready for most common materials like PLA, PETG, ABS, and ASA straight out of the box.
If you plan to work with carbon or glass fibre filaments, a hardened steel nozzle version will prevent wear and ensure optimal performance.