

Bambu Lab H2D Setup: A Step-by-Step Guide for Your Business
Setting up a 3D printer shouldn’t slow you down, especially when you’re ready to innovate and keep production agile. That’s why the Bambu Lab H2D is engineered for simplicity and speed. If you utilise desktop 3D printing in your workflow, this setup guide will get you up and running in no time so you can focus on what matters: delivering results.
Step 1: Unboxing, What to Expect
When your Bambu Lab H2D arrives from Additive-X, here’s what you should find inside the box:
- Bambu Lab H2D 3D Printer
- Power supply and cables
- Pre-installed magnetic print bed
- Filament spool holder
- Starter filament (typically PLA)
- USB drive with software, drivers, and documentation
- Toolkit for light maintenance and assembly
Before you begin, check each component. If anything appears to be missing or damaged, get in touch with Additive-X right away we’ll help you resolve it quickly.
Step 2: Quick Assembly, No Engineering Degree Needed
The H2D is designed with business efficiency in mind. It arrives mostly pre-assembled, so you can complete the setup in under 30 minutes:
- Attach the print bed (if not already installed)
- Mount the filament spool holder
- Plug in the power and accessory cables
Need a visual? The included manual provides step-by-step images, but if you get stuck, our support team is always on hand.
Step 3: Power Up and Connect
Power On:
- Plug the power cable into the machine and switch it on
- The touchscreen display will light up and walk you through the startup process
Wi-Fi Setup:
- From the touchscreen, navigate to Wi-Fi settings
- Select your network and enter your password
- Once connected, you’ll gain access to firmware updates, remote monitoring, and cloud-based print management
This connectivity is essential if you’re working across multiple teams or need to monitor progress remotely.
Step 4: Calibration, Built-In Precision
If you’re looking for consistent, professional-grade prints, calibration is key. Thankfully, the H2D does the hard work for you.
Auto-Bed Levelling:
- From the home screen, go to Calibration > Auto-Bed Levelling
- The printer will automatically scan and adjust the print surface to compensate for any unevenness
This step ensures your first layer adheres perfectly, reducing failed prints and wasted material.
Fine-Tuning (Optional):
- For standard PLA, default settings are typically spot-on
- For PETG, TPU, or composite materials, adjust temperature, layer height, or print speed in your slicer software for best results
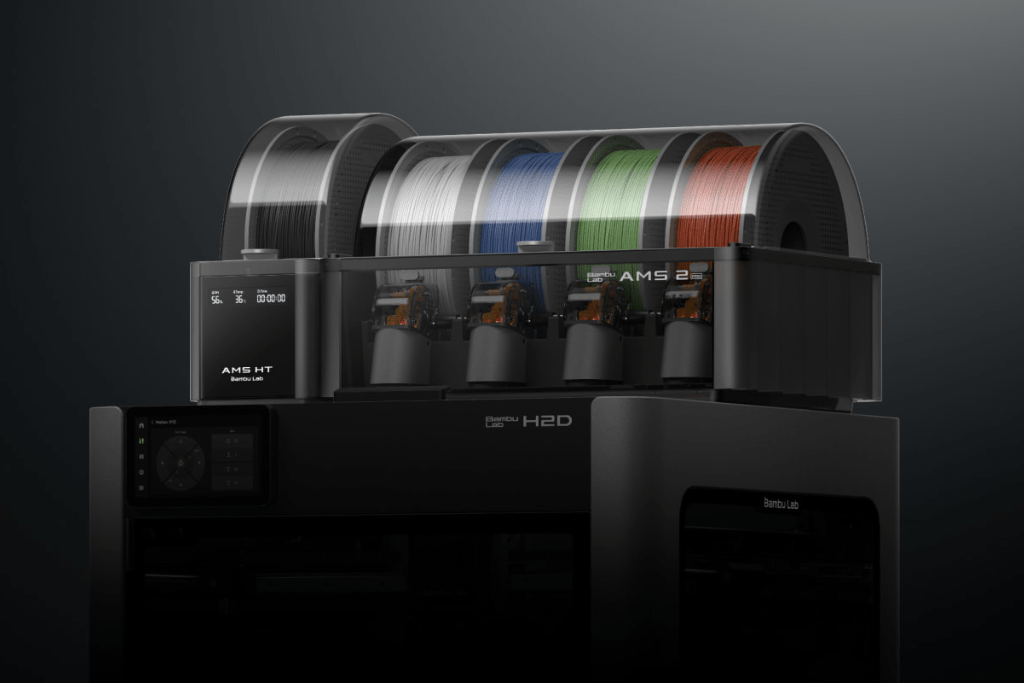
Step 5: Load Filament, Fast and Hassle-Free
Getting material into the printer is straightforward:
- Mount the filament spool
- Feed the filament into the guide tube and extruder
- From the touchscreen, select “Load Filament”
- The nozzle will heat up and automatically begin pulling the filament through
Once the filament flows cleanly from the nozzle, you’re ready to print.
Step 6: Start Printing
Use the USB drive to import your first print file, or upload it via Wi-Fi from your slicer:
- On the touchscreen, select “Print”
- Choose your file from the list
- Double-check print settings (layer height, infill, temperature, etc.)
- Press “Start”
You’ll see immediate feedback on screen, and your first print will begin.
Step 7: Smart Monitoring Tools Keep You in Control
Unlike legacy printers, the Bambu Lab H2D doesn’t leave you guessing:
- Live Camera Feed: View progress in real time from your device
- Filament Monitoring: Get automatic alerts if the filament runs out or breaks
- Error Detection: The system identifies issues early, helping prevent failed prints
These smart features help you reduce downtime and manage print jobs more efficiently.
Why It’s Ideal for Business
If you’re managing tight deadlines, juggling prototypes, or scaling up short-run production, the H2D gives you a strategic edge. Compared to competitors like the Bambu Lab X1 or P1S, the H2D offers:
- Faster print speeds without compromising detail
- Improved material compatibility, including high-performance and flexible filaments
- Streamlined setup, saving hours of onboarding
- Better cost-efficiency for business workflows
The H2D’s feature-to-price ratio beats out most in its class, including Bambu Lab’s own earlier models, making it an ideal upgrade if you’ve used the X1 Carbon or P1P in the past.
Final Thoughts: From Setup to Scale-Up
The Bambu Lab H2D isn’t just easy to set up, it’s built for growth. Once you’ve completed these initial steps, you’re ready to begin printing accurate, production-ready parts in-house. No outsourcing delays. No missed deadlines.
If you rely on desktop 3D printing for design, prototyping, or manufacturing, the H2D offers the reliability, efficiency, and flexibility to keep your business competitive.
Want to learn more or see how the H2D fits into your current setup? Visit the Additive-X shop or reach out to our expert team for personalised support.
And if you’re looking for deeper guidance on materials, print optimisation, or maintenance best practices, head over to the Additive-X Blog for more expert insights.