
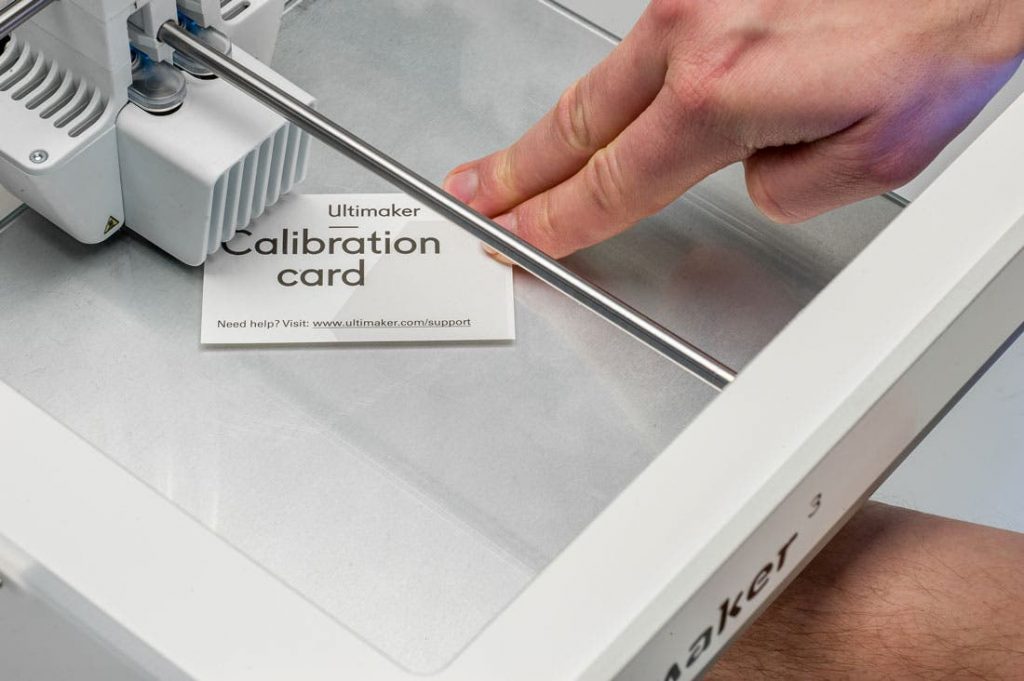
The success of any 3D print job greatly depends on how well the printer is prepared, especially with regards to the print bed, also known as build plate/platform. More specifically, sufficient bed adhesion is crucial. A common cause of failed 3D prints is the part detaching from the build plate mid-print – this can be avoided with, amongst other things, proper maintenance and calibration.
An ideal build platform should be even and as clean as possible for proper print adhesion. Today, we’ll discuss various steps to maintain your print bed, improving its reliability and ensuring the best possible results for your prints.
When Should I Clean the Print Bed?
You might be wondering, “When is the right time to clean the print bed?” The answer to this question depends on several factors, such as the type of build plate you have, how often you use your machine, the amount of adhesive used on your bed, and also the kind of material you are printing with.
Typically, a quick wipe after each print and perhaps a more thorough cleaning every five prints, or when it’s noticeably dirty, is advisable. Regular cleaning of the bed after every few prints will help ensure consistent, high-quality prints that don’t delaminate from the build plate.
Cleaning Your Build Plate
So, how do you clean a 3D printer bed? Here are several popular cleaning techniques:
1. Scraper Tool
When you’ve got chunks of material on your bed, a scraper tool is your best friend. It’s a highly effective tool for removing both prints and large filament residues. After you’ve removed your 3D print, you can further clean the print bed with the scraper tool by running some warm water on the build plate and gently scraping the surface.
After cleaning the print bed with the scraper tool, it’s best to dry the plate with a cloth and let it sit until all the moisture is gone. Note that this method shouldn’t be used for beds covered with tape (e.g., painter’s tape) as water and scraping might degrade the tape.
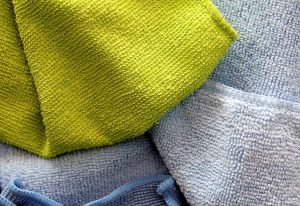
2. Microfibre Cloth
A microfibre cloth, dry or slightly dampened with water or a cleaning solution, is great for removing light amounts of adhesive residues, dust, and other small particle contaminants from the print bed. If you have a bed with tape on the surface, a dry cloth will preserve the quality of the tape.
3. Acetone
Acetone, a solvent for many plastic materials, can dissolve leftover plastic particles on the surface of the bed, making it an excellent cleaning solution for glass and spring steel build plates. To use acetone for cleaning, lightly soak a microfiber cloth or sponge (as long as it’s not plastic) in it, then gently scrub the surface of your build plate.
Note: Acetone should not be used with any plastic-based build plate.
4. Isopropyl Alcohol
Similar to acetone, isopropyl alcohol (IPA) also helps soften and remove plastics, although it’s not as strong. Soak a cloth with IPA until it’s damp, then gently scrub the surface of your build plate. As long as you use a conservative amount of IPA, it’s safe to use on all bed surfaces except tape.
5. Window Cleaner
Window cleaner is great for rigid build plates, especially glass and metal. Spray the cleaner on your print surface, then wipe the bed with a cloth. It is effective for removing glue, hair spray, dust, and other residues from your print surface.
Note: Do not use this method for print beds with tape.
6. Use of Adhesive Tape
Although not technically a cleaning solution, you can use adhesive tape, like painter’s tape, to cover your build plate. Doing this makes it easy to clean the bed and get rid of any built-up adhesive residues. After a print, you just peel off the tape and stick some new tape right back on.
Final Thoughts
Maintaining your 3D printer’s build platform is key to consistently successful prints. A well-cared-for build platform ensures good print adhesion and reduces the chance of print failures. By adopting the above cleaning techniques, you can prolong the life of your print bed, improve the quality of your prints, and enjoy a smoother 3D printing experience.
Remember, always exercise caution when applying these techniques, as spilled liquids can severely damage a printer. We also recommend removing your bed from the printer (if possible) before beginning to clean. Happy printing!
Disclaimer: Be sure to follow the manufacturer’s guidelines and instructions when maintaining your 3D printer bed to avoid any damage to your equipment.