

Your Formlabs Form 4 printer arrives ready to produce high-quality parts with minimal setup time. Join us below and follow the Formlabs Form 4 quick start guide steps to ensure optimal performance from your new SLA printer while avoiding common setup mistakes.
Printers relevant to this guide:
- Formlabs Form 4
- Formlabs Form 4B (for medical resins)
Preparing your workspace
Select a stable, level surface for your printer with at least 41 cm width, 48 cm depth, and 85 cm height clearance for the Form 4 models.
Position your Formlabs Form 4 away from windows to prevent sunlight exposure, which could cure resin prematurely. Choose a location separate from equipment generating dust or sparks, as airborne particles compromise print quality.
Gather essential supplies before unpacking, including nitrile gloves, paper towels, and isopropyl alcohol for cleaning. While waiting for delivery, download PreForm software to your computer. Reserve additional space nearby for the Finish Kit, Form Wash, or Form Cure units that handle post-processing tasks.
Unpacking your printer
Keep all original packaging materials, as they protect future transport and remain necessary for warranty service. Cut the shipping straps and remove the outer box from around the printer.
Locate the accessories box containing power cables and tools atop the protective foam. Lift the Form 4 by its base rather than grabbing the cover or touchscreen.
Place it on your prepared workspace and remove the microfibre shipping cover protecting sensitive components. Look for two round interlock magnets on the bottom edge of the cover, confirming they remain correctly attached.
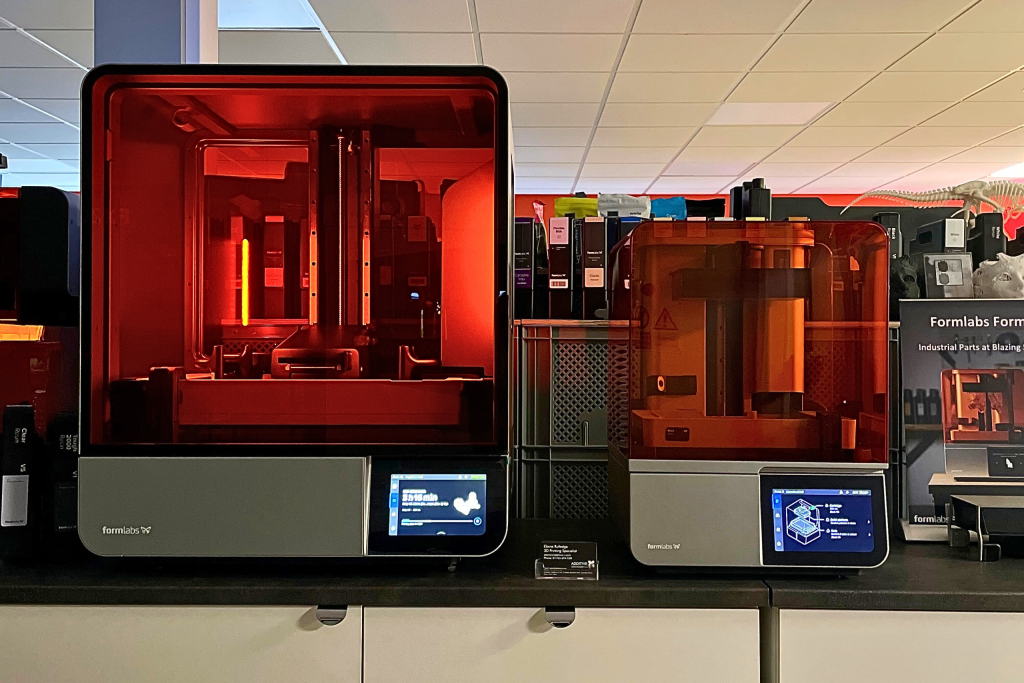
Printer components overview
- Build platform — attaches to the vertical z-axis, holding your printed parts as they form
- Resin tank — houses the liquid material, featuring a transparent film bottom for light passage
- Resin cartridge — automatically supplies fresh material throughout the printing process
- Mixer — sits near the cartridge, ensuring materials stay properly blended
- Rear connections — includes power switch, power port, network connections, and the mesh filter (requires occasional cleaning)
- Cover — shields internal components from dust while blocking external light during operation
Initial setup process
Connect the included power cable to your printer and wall outlet, then switch on using the rear power button. The touchscreen activates, and setup prompts guide you through the initial configuration.
Connect your printer to your wireless network or ethernet for automatic firmware updates and remote monitoring.
The touchscreen guides you through printer levelling using the included levelling disc and parallelism shims in the tool caddy. When prompted, insert the resin cartridge, tank, mixer, and build platform.
Create or log in to your Formlabs Dashboard account to register your printer, enabling cloud features and print tracking.
Installing consumables correctly
Handle the resin tank carefully, avoiding contact with the transparent film on its bottom. Place it in the printer, securing it firmly with both latches. Insert the build platform until it clicks into position.
Install the resin cartridge by aligning it with the slot and pushing until seated, then open the vent cap on top.
Proper orientation is required when installing the mixer. Align the pin with the corresponding hole and secure it completely.
Confirm that all components seat properly without forcing connections. Store spare consumables in their original packaging away from direct light until needed.
Preparing your first print
After installation, launch PreForm software on your computer. The application connects automatically to your Form 4 when on the same network. Import your 3D model file and position it optimally with the automatic orientation feature. The software generates appropriate support and calculates print time and material usage.
For first-time users, PreForm offers an onboarding tutorial explaining key functions. You can access this anytime through the Help menu option “Show Onboarding Tutorial.”
Review support structures before printing, ensuring they adequately brace overhangs and delicate features. Click “Print” to send the job to your printer or save it for later use.
Watch this video to learn how to print flawless parts:
Starting your first print
When ready, confirm the print job on your printer’s touchscreen. The machine automatically checks resin levels and dispenses additional material if needed. The build platform lowers into the resin tank, and the printing process begins with the backlight unit activating through the Light Processing Unit.
Monitor initial layers carefully, confirming proper adhesion to the build platform. The touchscreen displays estimated completion time and current progress percentage. You can pause or cancel prints through the touchscreen interface if needed. Keep the cover closed throughout printing to maintain consistent conditions.
Post-processing essentials
After printing, wait for the build platform to rise fully before removing it from the printer. Hold the platform over a container to catch dripping resin while transferring it to your cleaning station. Use the included removal tool to separate your print from the platform after washing.
Wash your printed part thoroughly in isopropyl alcohol using Form Wash or the manual process with the Finish Kit. Post-cure your parts in Form Cure when required by your resin type. Remove supports carefully after washing and curing using flush cutters included with your Finish Kit.
Between-print maintenance
Clean the build platform thoroughly between prints using isopropyl alcohol and paper towels. Using the plastic scraper provided, check the resin tank for any cured fragments or debris. Inspect the cartridge for leaks around the skirt and valve areas before each use.
Wipe any spilt resin immediately using alcohol-dampened paper towels. Keep the printer cover closed when not actively loading or unloading components. These simple habits prevent common print failures while extending the life of consumable parts.
Troubleshooting common setup issues
If your printer fails to initialise after powering on, check that the cover remains closed with both interlock magnets intact. Prints failing to adhere to the build platform often indicate levelling issues requiring recalibration. Resin dispensing problems typically stem from closed vent caps or obstructed valves.
Error messages about missing or unlocked tanks suggest improper seating of the resin tank. Verify that both latches close completely. Network connection problems are often resolved by restarting both the printer and your router.
For persistent issues, locate your printer’s serial name on the back panel in Form4-AdjectiveAnimal format for support requests.
When properly set up, your Formlabs Form 4 printer requires minimal maintenance and delivers consistent results for prototyping and production applications.
Follow this guide to establish proper workflows from the start and avoid common pitfalls that affect print quality or machine reliability.